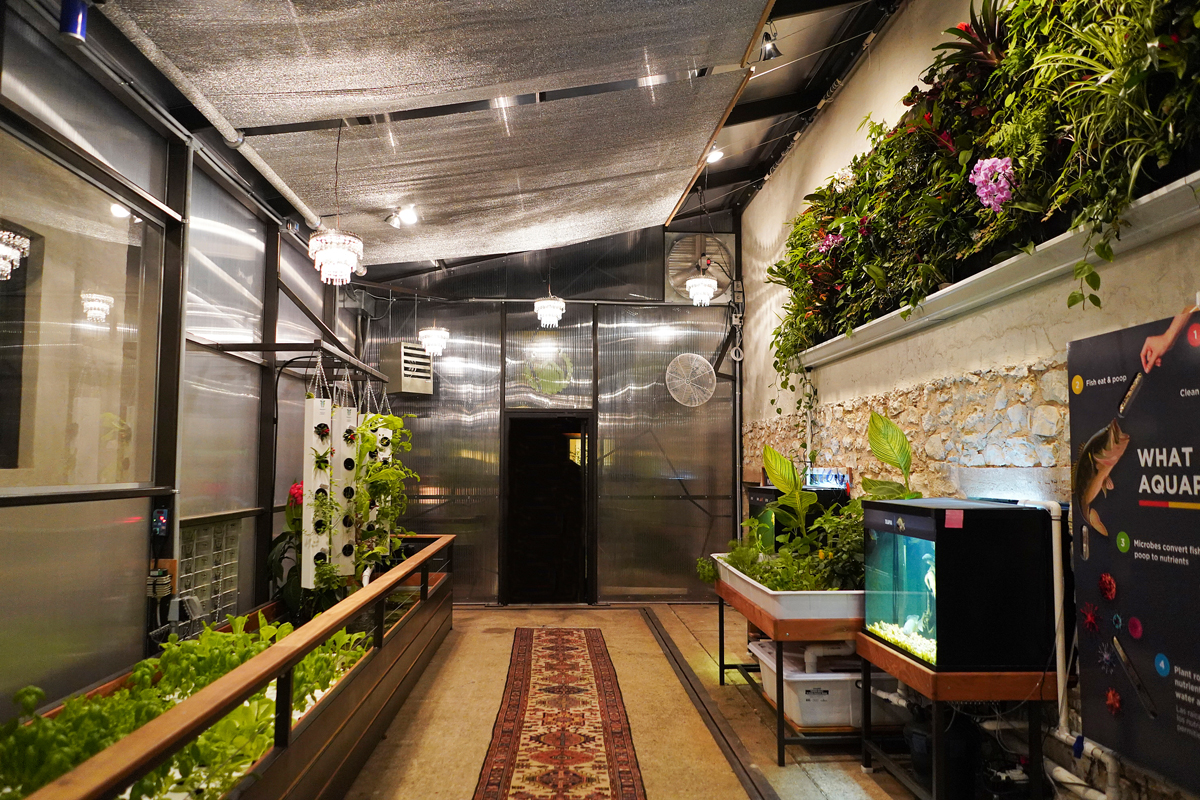
Aquaponics, the sustainable farming method that combines aquaculture (raising fish) and hydroponics (growing plants in water without soil), has become a popular solution for home growers looking to produce fresh food in a small, self-sustaining system. Whether you live in an urban environment with limited space or simply want to grow food in a more sustainable way, a DIY aquaponic system can be a fun and rewarding project.
In this blog post, we’ll explore a few DIY aquaponic system ideas that are perfect for home growers. From simple, beginner-friendly setups to more advanced systems, you’ll find options to suit your needs, skill level, and available space.
1. The Basic Wick System (Beginner-Friendly)
How It Works
The Wick System is one of the simplest and most beginner-friendly DIY aquaponic setups. This system is ideal for those just starting out with aquaponics because it doesn't require a pump or electricity, making it low-maintenance and inexpensive to set up.
Materials Needed:
-
Fish tank (a small aquarium or plastic container)
-
A container for the grow bed (such as a plastic tote or tray)
-
Wick material (cotton or nylon rope)
-
Growing medium (such as clay pebbles or perlite)
-
Fish (such as goldfish or guppies)
-
Plants (leafy greens, herbs, or small vegetables)
Setup Steps:
-
Place the Fish Tank: Start by setting up the fish tank at the bottom of your system. This tank will house the fish, and the water from the tank will provide the nutrients needed by the plants.
-
Install the Grow Bed: Above the fish tank, place a grow bed (a plastic tote works well). Fill the grow bed with a growing medium that provides support for plant roots and allows for good water flow, such as clay pebbles.
-
Create the Wick System: Cut the wick material into long strips and place one end in the fish tank, with the other end in the growing medium. The wick will draw water and nutrients up from the fish tank into the plants.
-
Add Fish and Plants: Add a small number of fish to the tank (about 5-10, depending on the size of the tank). Plant your choice of leafy greens or herbs in the grow bed.
This system is great for small spaces like apartments or kitchens, and it requires minimal maintenance. The water in the fish tank is slowly drawn up to the plants, providing them with nutrients and allowing the plants to clean and filter the water for the fish.
2. The Media-Based System (Medium-Level)
How It Works
The Media-Based System is one of the most popular types of aquaponic setups for DIY growers. It uses a grow bed filled with an inert, water-retaining medium (such as expanded clay pellets) to support plant roots and allow for better filtration of the water. This system typically uses a flood-and-drain (also known as ebb and flow) method, where the grow bed is periodically flooded with water from the fish tank and then drained.
Materials Needed:
-
Fish tank (larger than the wick system, depending on the size of the grow bed)
-
Grow bed (plastic tote or a container)
-
Inert growing medium (expanded clay pellets, lava rocks, or perlite)
-
Water pump (submersible pump)
-
PVC piping
-
Fish (tilapia, goldfish, or other species)
-
Plants (leafy greens, tomatoes, peppers, or herbs)
Setup Steps:
-
Fish Tank Placement: Place the fish tank in a stable location. The tank should be large enough to accommodate the fish and provide enough water for the system.
-
Install the Grow Bed: Position the grow bed above the fish tank. This bed will hold the growing medium, where the plant roots will reside. Ensure that the grow bed is level to avoid uneven water distribution.
-
Set Up the Pump and PVC Pipes: Install the submersible water pump in the fish tank, and connect it to the grow bed using PVC pipes. The pump will periodically flood the grow bed with water from the fish tank.
-
Flood-and-Drain Cycle: Set up the system so that the grow bed fills with water and then drains back into the fish tank. You can either manually flood and drain the bed or use a timer to automate the process.
-
Add Fish and Plants: Introduce your fish into the tank and plant your crops in the grow bed. Vegetables like leafy greens, herbs, and even strawberries can thrive in this system.
The media-based system is a great middle-ground for home growers because it offers better filtration and oxygenation for both plants and fish. Plus, it allows for greater plant variety compared to simpler systems like the wick system.
3. The Nutrient Film Technique (NFT) System (Advanced)
How It Works
The Nutrient Film Technique (NFT) is a more advanced DIY aquaponic system where a thin film of water is continuously circulated over the roots of plants, providing them with nutrients from the fish waste. Unlike other systems, the NFT system does not rely on a large volume of water in the grow bed; instead, it uses a shallow stream that flows over the plant roots in channels.
Materials Needed:
-
Fish tank (larger tank for more fish)
-
PVC pipes or gutters for the plant channels
-
Water pump (submersible pump)
-
Fish (tilapia, trout, or other species)
-
Plants (leafy greens, herbs, strawberries)
-
Grow medium (optional, but typically used at the base of each plant)
Setup Steps:
-
Install the Fish Tank: Place the fish tank at the bottom of your setup. The tank should be large enough to hold the number of fish you plan to have.
-
Set Up the NFT Channels: Cut the PVC pipes or gutters to the appropriate length and place them above the fish tank. The channels should have a slight slope (about 1-2 degrees) to allow the water to flow through.
-
Install the Water Pump: The water pump should be placed in the fish tank and connected to the NFT channels. The pump will move water through the pipes, ensuring that the plants' roots receive a steady stream of nutrients.
-
Add Fish and Plants: Add your fish to the tank and carefully place your plants in the NFT channels. Ensure that the plant roots are well exposed to the flowing water.
NFT systems are excellent for leafy greens, herbs, and small fruiting plants, as they thrive in the continuous flow of nutrients. This system requires more careful monitoring to ensure the water flow is consistent, and there’s less room for error when it comes to plant placement and root exposure.
4. The Raft System (Advanced)
How It Works
The Raft System is another advanced technique that involves floating plant roots on a raft or floating platform that is placed in the fish tank. The water, rich in nutrients from the fish waste, is continuously circulated beneath the raft, allowing the plants to absorb nutrients and filter the water.
Materials Needed:
-
Fish tank (large enough to house both the fish and the raft)
-
Styrofoam or plastic raft (for holding plants)
-
Water pump (submersible)
-
Fish (tilapia or other species)
-
Plants (lettuce, herbs, spinach)
-
Growing medium (optional, typically placed in net pots)
Setup Steps:
-
Fish Tank Setup: Choose a larger fish tank or container to accommodate both the fish and the raft.
-
Create the Raft: Cut a piece of styrofoam or plastic to fit the size of your tank. The raft should have holes for placing net pots with your plants.
-
Install the Water Pump: The water pump should be placed in the tank to circulate nutrient-rich water beneath the raft.
-
Add Fish and Plants: Introduce your fish to the tank, and place your plants into the net pots on the raft.
Raft systems are especially effective for growing leafy greens and small vegetables. They’re also highly efficient, as they provide a large surface area for plants to grow and filter the water simultaneously.
Conclusion: Start Your DIY Aquaponic Journey
Aquaponics is a fun and sustainable way to grow food at home, and DIY projects can be a great way to get started. Whether you opt for a simple wick system, a media-based system, or a more advanced NFT or raft system, there’s an aquaponic setup that fits your needs and space. Not only will you enjoy growing fresh food in your own home, but you'll also be contributing to a more sustainable future.
Start small, experiment with different setups, and watch your aquaponic garden flourish!
Comments
No comments yet. Be the first to comment!
You must be logged in to comment. Login