In every garden—whether it’s nestled in a lush valley, perched on a windswept rooftop, or tucked behind a suburban home—there are hidden forces at play. These small, localized variations in temperature, sunlight, wind, and moisture are known as microclimates, and they can make or break your gardening success.
Understanding and mastering microclimates is a game-changing skill for gardeners across the globe. By working with, rather than against, these subtle shifts in your environment, you can extend growing seasons, protect sensitive plants, and boost overall productivity.
In this post, we’ll dive into the art and science of microclimates—what they are, how to identify them, and how to harness them to grow stronger, more resilient gardens anywhere in the world.
What Is a Microclimate?
A microclimate is a small area—sometimes just a few square meters—where the climate differs from the surrounding area. These differences can be caused by:
-
Sun exposure
-
Wind patterns
-
Soil composition
-
Structures (walls, fences, buildings)
-
Slope and elevation
-
Water bodies (ponds, lakes, or even a birdbath)
While you can’t control your region’s climate zone, you can manipulate microclimates to create ideal pockets for growing specific crops, extending the season, or protecting tender plants.
Step 1: Observe and Map Your Garden’s Microclimates
Before you make changes, spend time simply observing your space. Over a few days or weeks, take note of:
-
Which areas get the most sun or shade?
-
Where is the wind strongest or calmest?
-
Which spots dry out quickly vs. stay moist?
-
Where does frost hit hardest in winter?
Create a microclimate map of your garden, marking zones like:
-
Hot, sunny corners
-
Cool, shaded areas
-
Wind tunnels or sheltered nooks
-
Low spots where cold air settles
-
South-facing walls that reflect heat
This map becomes your strategic tool for crop placement and design.
Step 2: Match Plants to Microclimates
Each plant has its preferences. Once you’ve mapped your microclimates, match your crops to their ideal conditions:
-
Heat-loving crops like tomatoes, peppers, basil, and melons thrive in warm, sunny zones with reflected heat from walls or patios.
-
Leafy greens and herbs like lettuce, parsley, and cilantro prefer cooler, partially shaded areas.
-
Frost-sensitive plants can be tucked into sheltered corners or near thermal mass, like stone walls that retain heat.
-
Moisture-loving plants, such as celery or watercress, can go in low-lying or poorly draining spots.
By planting based on microclimate instead of just the general climate, you can increase yields and reduce stress on your plants.
Step 3: Create and Enhance Microclimates
You’re not limited to what nature provides—you can actively shape your garden’s microclimates to suit your needs.
🔥 Warm It Up
-
Use thermal mass: Bricks, rocks, and dark-colored surfaces absorb heat during the day and release it at night.
-
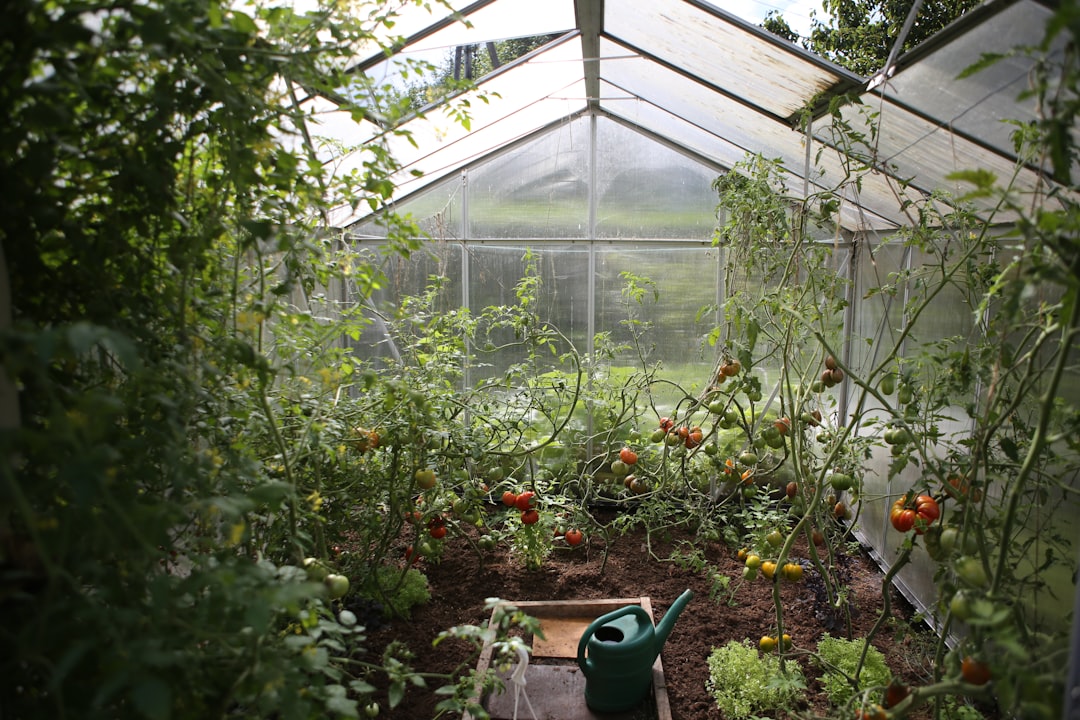
Install cold frames or hoop tunnels: These mini greenhouses trap warmth and protect plants from frost.
-
Plant against south-facing walls (in the Northern Hemisphere) to reflect sunlight and radiate heat.
❄️ Cool It Down
-
Provide afternoon shade with tall crops, trellises, or shade cloth.
-
Use reflective mulches to reduce soil temperature.
-
Plant near water: Small ponds or water features can moderate hot spots by absorbing heat and releasing humidity.
💨 Block or Channel Wind
-
Plant windbreaks using hedges, fences, or dense shrubs.
-
Use walls or buildings to create wind shadows and protect delicate crops.
-
Design natural air flow to reduce fungal diseases in humid climates.
💧 Manage Moisture
-
Add organic mulch to retain soil moisture and regulate temperature.
-
Create swales or berms to slow water runoff and capture rain.
-
Group plants with similar water needs to reduce waste and improve efficiency.
Step 4: Extend the Growing Season
Microclimate mastery can help you start earlier in the spring and keep going later into the fall, especially in regions with short growing seasons.
-
Use row covers, cold frames, or greenhouses to protect early seedlings and fall crops.
-
Plant heat-retaining perennials or stones nearby to buffer temperature swings.
-
Choose early-maturing varieties and stagger plantings for continuous harvests.
Step 5: Think Globally, Act Locally
While microclimate techniques are inherently local, the knowledge is globally relevant. From the Andes to the Alps, from inner-city gardens to remote homesteads, gardeners everywhere are using microclimates to adapt to:
-
Climate change and unpredictable weather
-
Limited space or urban environments
-
Extreme temperatures or challenging terrains
The key is observation and experimentation—what works in a Mediterranean courtyard may not work in a tropical forest, but the principles stay the same.
Microclimate Tips from Around the World
-
Japan: Traditional gardens use rock placements and water features to balance light and airflow.
-
Morocco: Courtyards and high walls create shaded, wind-protected oases in dry, hot climates.
-
Scandinavia: Gardeners use raised beds and thermal mass to offset short growing seasons.
-
India: Agroforestry systems create layered shade and moisture retention in monsoon climates.
-
The U.S. Southwest: Earth-sheltered gardens and adobe walls trap warmth for desert cultivation.
Final Thoughts: Microclimates Are Your Secret Weapon
Mastering microclimates is like unlocking hidden levels of potential in your garden. It’s the difference between struggling to keep plants alive and watching them thrive effortlessly.
By tuning into the subtle patterns of light, heat, wind, and water—and making small, smart adjustments—you can grow more food, more flowers, and more beauty in any space, anywhere in the world.
🌿 So grab your garden journal, your compass, and your curiosity—and start exploring your own microclimate magic. The garden is full of secrets just waiting to be uncovered.
Comments
No comments yet. Be the first to comment!
You must be logged in to comment. Login