Starting seeds indoors is an exciting way to get a jump start on your gardening season, but one of the first decisions you’ll face is choosing the right container for your seeds. The container you select plays a crucial role in seed germination and the overall success of your seedlings. Whether you're using traditional seed trays, eco-friendly peat pots, or creative DIY options, each type of container offers its own set of advantages. In this blog post, we’ll explore the different types of containers you can use for starting seeds, their pros and cons, and tips for getting the best results.
1. Seed Trays
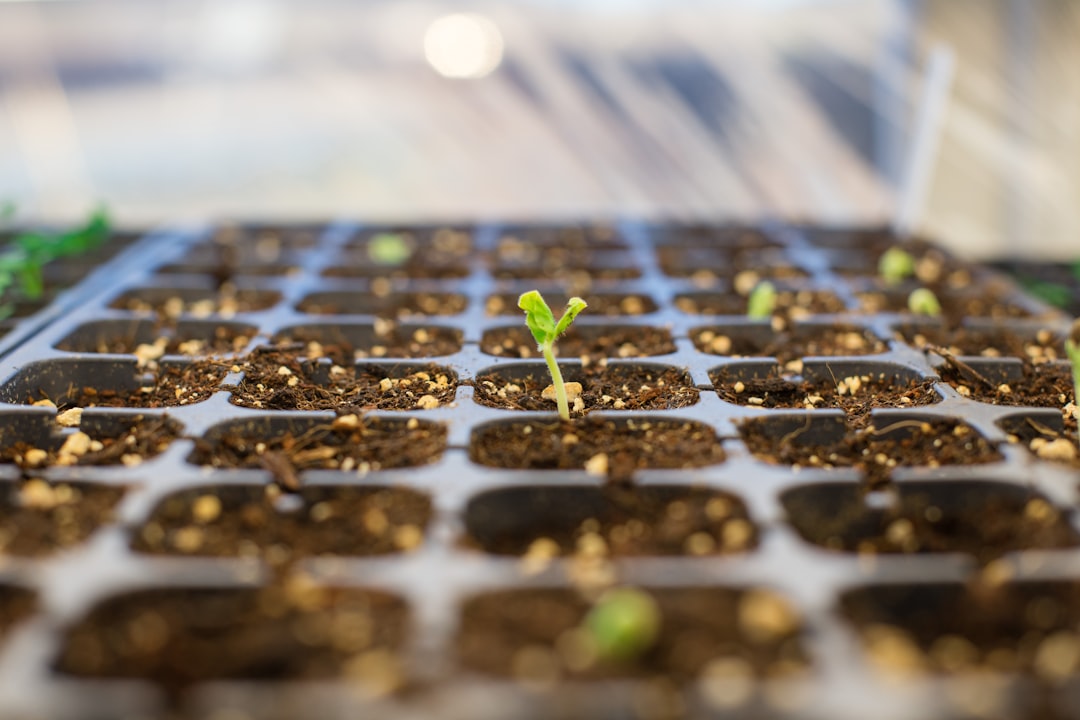
Seed trays are one of the most commonly used containers for starting seeds. These trays are typically shallow, rectangular containers with multiple small compartments or cells, designed to hold individual seeds or small groups of seeds.
Advantages:
- Efficient use of space: Seed trays allow you to plant many seeds in a compact area, which is perfect if you're starting a large number of plants.
- Good drainage: Most seed trays have drainage holes to help prevent waterlogged soil, which can lead to seed rot.
- Convenient for transplanting: Seed trays are often designed to be easily transferable, making it simple to move seedlings once they’ve reached the appropriate size for transplanting.
Disadvantages:
- Root disturbance: When seedlings become crowded, their roots can become entangled, and transplanting them into the garden or larger containers can disturb the roots.
- Plastic waste: Many seed trays are made from plastic, which isn’t the most environmentally friendly option if you’re aiming for sustainability.
Best For:
- Starting a large number of seeds at once, particularly for vegetables like tomatoes, peppers, and herbs.
- Anyone with limited space, as seed trays can be stacked and organized in tight spots.
2. Peat Pots
Peat pots are biodegradable containers made from compressed peat moss, offering an eco-friendly alternative to plastic containers. These pots are designed to break down over time, allowing you to transplant the entire pot into the ground, reducing root disturbance.
Advantages:
- Minimal root disturbance: Peat pots allow seedlings to grow undisturbed, as you can plant the pot directly into the ground when it's time to transplant.
- Biodegradable: Unlike plastic pots, peat pots break down naturally in the soil, which is better for the environment.
- Easy to handle: Peat pots are sturdy enough to handle, making them ideal for handling individual seedlings without worrying about crushing or damaging roots.
Disadvantages:
- Moisture management: Peat pots can dry out more quickly than plastic containers, requiring more frequent watering.
- Can be expensive: Peat pots may cost more than plastic seed trays, especially if you are starting a large number of seeds.
- Can mold: If left too wet for extended periods, peat pots can attract mold or mildew.
Best For:
- Growing seedlings that will be transplanted directly into the garden without disturbing their root systems, such as tomatoes, peppers, and cucumbers.
- Organic gardeners or anyone looking for an eco-friendly option.
3. DIY Options
If you’re looking for a more affordable or creative approach to starting seeds, there are plenty of DIY container options available using materials you likely already have at home. From cardboard egg cartons to plastic cups, the possibilities are endless!
Popular DIY Options:
- Egg cartons: Cardboard egg cartons are a great option for starting seeds. Simply fill each cup with soil and plant your seeds as you would in a traditional tray. Once the seedlings are ready, you can easily cut the individual compartments apart and plant them directly in the garden.
- Toilet paper rolls: Cut toilet paper rolls into shorter sections to create individual pots. These can be filled with seed-starting mix and planted directly in the soil when the seedlings are ready to go outside. The cardboard breaks down in the soil, minimizing transplant shock.
- Plastic containers: Recycled plastic containers like yogurt cups, milk cartons, and takeout containers can serve as seed trays or individual pots. Just make sure to punch holes in the bottom for drainage.
- Plastic bottles: Cut a plastic bottle in half to create a mini greenhouse effect. Fill the bottom half with soil, plant your seeds, and cover the top half over the bottom to keep moisture in. This option is especially useful for creating a warm, humid environment.
Advantages:
- Cost-effective: DIY options are typically free or low-cost, making them perfect for gardeners on a budget.
- Customizable: You can get creative and repurpose many household items to suit your specific needs.
- Eco-friendly: Using recycled materials reduces waste, helping the environment.
Disadvantages:
- Limited durability: Some DIY containers, like egg cartons, may not be as durable as traditional seed trays or peat pots, and they may not last through multiple planting seasons.
- Inconsistent size: DIY containers may not be uniform in size or shape, which could result in uneven growth for your seedlings.
- Potential for mold or pests: Some DIY containers may retain excess moisture, leading to mold growth or attracting pests if not properly ventilated.
Best For:
- Anyone looking for an affordable, creative way to start seeds at home.
- People who want to reduce waste by repurposing materials they already have.
4. Other Container Options
In addition to the main containers mentioned above, there are a few other options worth considering depending on your space and preferences:
- Plastic cups or nursery pots: These are widely available, reusable, and easy to find. Ensure they have drainage holes to prevent waterlogging.
- Fiber-based pots: Similar to peat pots but made from other fibers like coconut coir, these biodegradable pots also break down in the soil and are a good alternative to plastic.
- Cell packs: These small plastic trays, often used by nurseries, come in various sizes and are great for seedlings that need a little more space before transplanting.
Tips for Using Containers for Seed Starting:
Regardless of which container you choose, there are a few general tips to ensure your seeds grow successfully:
- Drainage: Always ensure your containers have proper drainage to prevent water from accumulating at the bottom, which can cause seed rot and mold.
- Moisture: Keep your containers evenly moist but not waterlogged. Most seeds need a consistently damp environment for germination.
- Temperature: Keep your containers in a warm, sunny location or under grow lights to ensure proper seedling growth. Most seeds need temperatures between 65°F to 75°F (18°C to 24°C) to sprout.
- Labeling: It’s easy to forget what you’ve planted in each container, so be sure to label your containers with the seed variety and date.
Final Thoughts
Starting seeds in different types of containers is a flexible and rewarding way to grow your own plants from scratch. Whether you choose traditional seed trays, eco-friendly peat pots, or a creative DIY option, the key is to provide your seeds with the right environment to germinate and grow strong. With a little planning and the right containers, you’ll be well on your way to growing healthy seedlings that will thrive once they’re ready to be transplanted into your garden.
Comments
No comments yet. Be the first to comment!
You must be logged in to comment. Login