There’s nothing quite like the satisfaction of harvesting your own fruit from the garden. Whether it’s a bountiful crop of apples, peaches, or berries, homegrown fruit can provide you with a sweet reminder of the growing season long after it ends. However, one of the challenges of having an abundance of fruit is figuring out how to store it for later enjoyment.
In this blog post, we’ll explore various methods for storing homegrown fruit, from refrigeration to preservation techniques like canning, freezing, and drying. With the right storage methods, you can enjoy your fruit harvest throughout the year.
1. The Basics of Fresh Fruit Storage
Before diving into the more advanced preservation methods, it's important to know how to store fresh fruit to extend its shelf life. Some fruits need to be eaten soon after harvest, while others can last for months with the right care.
Room Temperature Storage
Some fruits ripen best at room temperature and should not be refrigerated until fully ripe. Here’s what you can store at room temperature:
-
Bananas
-
Avocados
-
Tomatoes
-
Peaches, nectarines, and plums (until ripe)
-
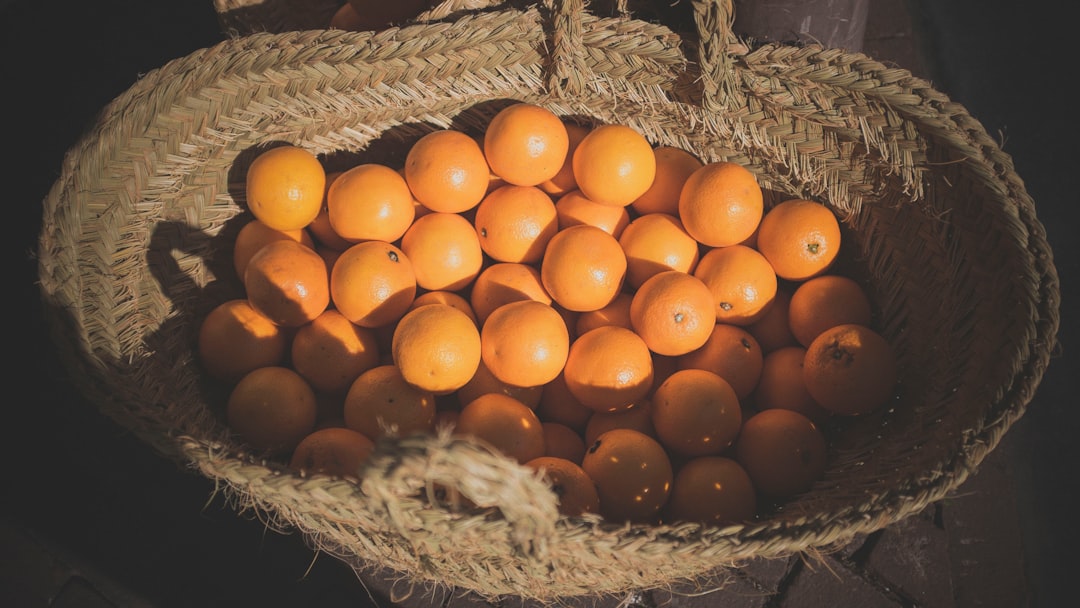
Citrus fruits (only for a short period before refrigerating)
To help fruits ripen properly, store them in a single layer, away from direct sunlight. For fruits like apples and pears that continue to ripen off the tree, check them regularly to avoid over-ripening.
Refrigeration
Once fruits are ripe, refrigeration helps slow down the ripening process and prolongs their freshness. Fruits that should be refrigerated include:
-
Apples
-
Berries
-
Grapes
-
Pineapples (once cut)
-
Cherries and grapes (should be stored in a plastic bag or container)
Store fruits in perforated plastic bags or containers to maintain airflow and prevent moisture buildup, which can cause mold or spoilage.
Crisper Drawers for Sensitive Fruits
Some fruits, like berries and grapes, are more delicate and benefit from the humidity levels in the crisper drawers of your fridge. This helps maintain their moisture and prevents them from drying out too quickly.
2. Freezing Homegrown Fruit for Long-Term Storage
Freezing is one of the best methods for preserving the flavor and nutritional value of fruit for long periods. Whether you're dealing with berries, stone fruits, or even apples, freezing can make it possible to enjoy your harvest months later.
Freezing Fruits: Steps to Follow
-
Prepare the Fruit: Wash and peel (if necessary) the fruit. For fruits like apples and peaches, you may want to cut them into slices or chunks for easier storage.
-
Blanching (for some fruits): Blanching, or briefly boiling fruits like peaches, plums, and apricots before freezing, helps preserve their color, texture, and flavor. To blanch, dip the fruit in boiling water for 30-60 seconds, then immediately transfer it to ice water to stop the cooking process.
-
Flash Freezing: Lay the prepared fruit in a single layer on a baking sheet and freeze until solid. This prevents the fruit from sticking together and allows you to store individual pieces in containers or freezer bags.
-
Packaging: Once the fruit is frozen, transfer it to airtight freezer bags or containers. Be sure to remove as much air as possible to prevent freezer burn. Label the bags with the date for easy reference.
Best Fruits to Freeze
-
Berries (strawberries, raspberries, blueberries, blackberries)
-
Peaches and nectarines
-
Cherries
-
Apples (cut into slices or chunks)
-
Plums and apricots
Frozen fruit can last up to 6-12 months in the freezer, depending on the type.
3. Canning: A Time-Tested Method for Fruit Preservation
Canning is an excellent method for storing fruit long-term, especially for making jams, jellies, and preserves. By sealing fruit in jars, you create a vacuum that prevents air from entering, keeping your fruit fresh for months or even years.
How to Can Fruit: The Process
-
Sterilize Jars: Before canning, make sure to sterilize your jars and lids by boiling them in water for 10-15 minutes.
-
Prepare the Fruit: Wash, peel, and cut the fruit. For jams or jellies, you may want to cook the fruit down with sugar to create a thick, sweet spread. For whole fruits, you can make syrup or pack the fruit in its own juice.
-
Fill the Jars: Pack the prepared fruit into the sterilized jars, leaving enough headspace (about 1/2 inch from the top). Pour the syrup or juice over the fruit, if necessary.
-
Seal and Process: Wipe the rim of the jars clean, place the lids on, and screw on the metal bands. Process the jars in a hot water bath or pressure canner for the appropriate time to ensure the fruit is sealed properly.
-
Cool and Store: Once the jars are sealed, let them cool completely. Check the seals by pressing the center of the lids—if they don’t pop back, the jar is sealed properly. Store in a cool, dark place.
Best Fruits for Canning
-
Peaches
-
Apples (for applesauce or whole apples)
-
Pears
-
Cherries
-
Plums (for jams or preserves)
-
Tomatoes (for sauces and salsas)
Canned fruit typically lasts for up to one year when stored in a cool, dark pantry.
4. Drying Fruit: A Simple Way to Store Flavor and Nutrition
Drying fruit is a great way to preserve it, especially if you have limited storage space. Drying removes moisture, which prevents spoilage and preserves the fruit’s flavor. Dehydrated fruit is also lightweight and easy to store.
How to Dry Fruit: Methods to Use
-
Air Drying: For small, thin fruits like berries or apples, you can dry them by hanging or laying them out on a screen in a warm, dry location. This process can take several days, depending on the fruit.
-
Oven Drying: Set your oven to the lowest temperature (usually around 140°F or 60°C) and spread the fruit in a single layer on baking sheets. Leave the oven door slightly ajar to allow moisture to escape.
-
Dehydrator: If you have a food dehydrator, follow the manufacturer’s instructions for drying fruit. This is the fastest and most energy-efficient method.
Best Fruits to Dry
-
Apples (slices or rings)
-
Pears
-
Bananas
-
Peaches
-
Plums (for prunes)
-
Tomatoes (for sun-dried tomatoes)
Dried fruit can last anywhere from 6 months to 1 year if stored in airtight containers in a cool, dry place.
5. Making Jam, Jelly, and Preserves
Turning your fruit into jams, jellies, or preserves is another excellent way to store it for future use. Not only do you get to preserve your harvest, but you also get to enjoy the sweet taste of summer throughout the year.
How to Make Jam or Jelly
-
Cook the Fruit: Mash or puree the fruit, and cook it with sugar and pectin (for jams) or fruit juice (for jelly) to thicken the mixture.
-
Fill Jars: Once the fruit mixture reaches the desired consistency, pour it into sterilized jars and process it in a water bath or pressure canner.
6. Conclusion: Enjoying Your Harvest All Year Round
Storing homegrown fruit for later enjoyment is a rewarding way to make the most of your harvest. Whether you’re freezing, canning, drying, or making jams, each preservation method offers unique benefits. With a little preparation and care, you can enjoy the taste of summer fruits throughout the year, no matter what the season brings.
Do you have any favorite methods for storing homegrown fruit? Share your tips in the comments below!
Comments
No comments yet. Be the first to comment!
You must be logged in to comment. Login