Starting a garden can be incredibly rewarding, and one of the first steps in growing your own food or flowers is learning how to plant seeds and seedlings correctly. Whether you're planting from seed or starting with seedlings from a nursery, the process can be simple and easy with the right techniques. In this step-by-step guide, we’ll walk you through everything you need to know to give your plants the best start.
Why Planting Properly is Important
Planting seeds and seedlings correctly is crucial because it sets the foundation for healthy, thriving plants. When done right, it ensures that your plants grow strong, develop deep roots, and are less likely to be stressed by environmental factors such as pests, disease, or weather. Proper planting also maximizes space and encourages optimal growth, which means more flowers, vegetables, or herbs for you to enjoy.
Let’s break it down into a simple, easy-to-follow process.
Step 1: Choose the Right Location
Before planting, it’s important to determine the best location for your seeds or seedlings. Plants have different needs when it comes to sunlight, temperature, and space. Consider the following:
- Sunlight: Most plants require full sun (at least 6 hours of direct sunlight per day) to thrive, but some, like leafy greens or herbs, can tolerate partial shade.
- Temperature: Some plants prefer warm temperatures, while others are more suited for cooler climates. Always check the plant's growing zone to ensure it's suited to your area.
- Space: Be mindful of how much space your plants will need as they grow. Some plants, like tomatoes or squash, need more room to spread out, while others, like herbs, are compact and do well in containers or small spaces.
Step 2: Prepare Your Soil
Healthy soil is key to healthy plants. Here's how to prepare your soil:
- Loosen the Soil: If you’re planting in a garden bed, use a shovel or garden fork to loosen the soil to a depth of about 6-8 inches. This allows the roots to grow freely and access nutrients.
- Improve Drainage: If your soil is heavy or clay-like, mix in organic matter, like compost or well-rotted manure, to improve its structure and drainage.
- Check pH Levels: Some plants prefer slightly acidic soil, while others prefer neutral or alkaline conditions. You can buy a soil testing kit to measure pH and adjust it as needed.
For container planting, use a high-quality potting mix that drains well and provides the necessary nutrients for plant growth.
Step 3: Planting Seeds
Now that the location and soil are ready, it’s time to plant your seeds. Here’s how:
- Read the Instructions: Different seeds have different requirements, so always check the seed packet for planting depth, spacing, and recommended growing conditions.
- Sow the Seeds: Plant your seeds according to the packet instructions. As a general rule, plant seeds about 2-3 times as deep as the size of the seed. For example, small seeds like lettuce or basil should be planted shallow (1/4 inch deep), while larger seeds like beans or sunflowers need to be planted deeper (1-2 inches deep).
- Space the Seeds: Make sure you space the seeds far enough apart to allow the plants to grow without overcrowding. Check the seed packet for recommended spacing between each seed or row.
- Cover Lightly: After planting the seeds, cover them lightly with soil, ensuring that they’re not too deep or packed too tightly. Gently press the soil down to ensure good seed-to-soil contact.
For smaller seeds, you can also sprinkle them over the soil surface and lightly press them in with your hand or a piece of cardboard to ensure they have good contact with the soil.
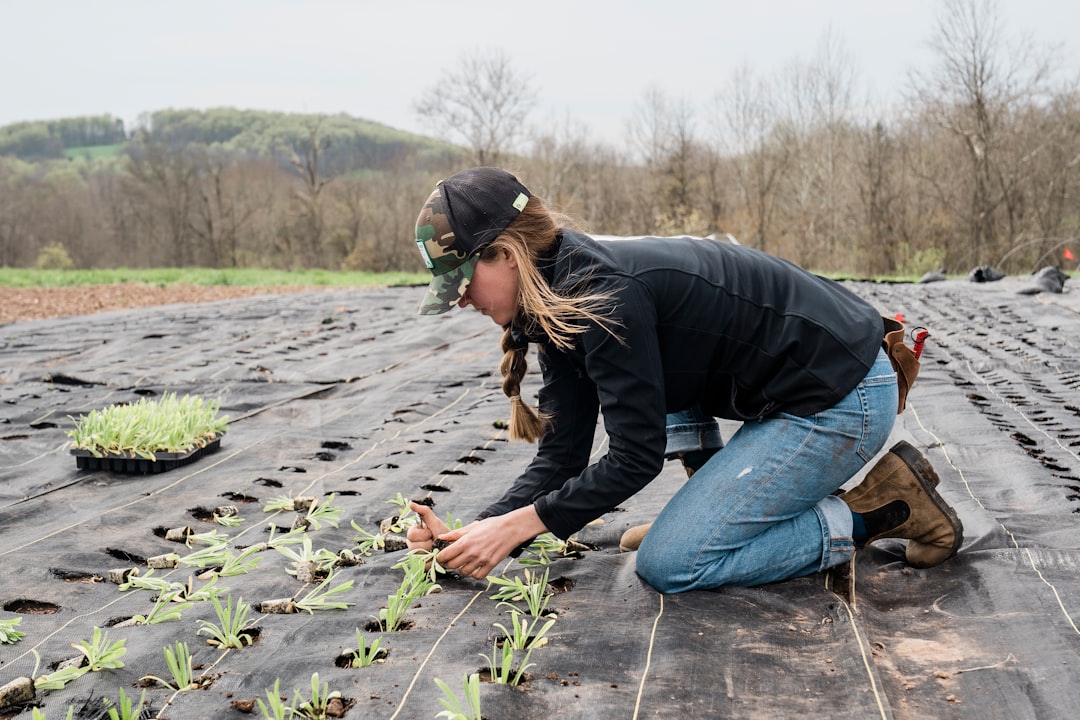
Step 4: Planting Seedlings
If you’re planting seedlings instead of seeds, follow these steps:
- Prepare the Hole: Dig a hole that’s just a little larger than the root ball of the seedling. The hole should be deep enough to accommodate the entire root system without bending or overcrowding.
- Remove the Seedling from the Pot: Gently remove the seedling from its pot. If it’s in a plastic pot, lightly tap the sides to loosen the soil. Be careful not to damage the roots when removing it.
- Examine the Roots: If the roots appear tightly wound around the bottom or sides of the root ball (a condition called "root bound"), gently loosen them with your fingers. This helps the roots establish themselves in the new soil.
- Place the Seedling: Set the seedling into the hole, making sure the top of the root ball is level with the surrounding soil. The plant should sit at the same depth it was in the pot.
- Backfill with Soil: Fill the hole with soil around the seedling, pressing it gently to eliminate air pockets. Avoid burying the stem of the seedling, as this can cause rot.
If you’re planting several seedlings in a row, make sure to leave enough space between them, following the recommended spacing from the plant’s care instructions.
Step 5: Watering
Watering is one of the most important aspects of planting. Here’s how to do it right:
- Water Immediately After Planting: After planting your seeds or seedlings, water them thoroughly to settle the soil around the roots. Be sure to water gently so as not to disturb the soil or wash away the seeds.
- Keep Soil Moist: Keep the soil consistently moist, but not soggy. For seeds, you can use a fine mist to water, ensuring you don’t wash them away. For seedlings, water deeply to encourage strong root growth.
- Watering Frequency: How often you water depends on the weather, the type of plant, and the soil conditions. Generally, new seedlings need more frequent watering than established plants.
As your plants grow, adjust watering to their needs. In hot weather, you may need to water more frequently, while in cooler weather, less frequent watering might be necessary.
Step 6: Mulch to Retain Moisture
Adding a layer of mulch around your plants can help retain moisture, keep weeds at bay, and regulate soil temperature. Apply a thin layer (about 2-3 inches) of organic mulch such as straw, grass clippings, or wood chips. Be sure to leave space around the base of the plants to prevent rot.
Step 7: Monitor and Care for Your Plants
Once your seeds or seedlings are in the ground, continue to monitor them and provide care. Here’s what to do next:
- Thin the Seedlings: If you’ve planted seeds too close together, you may need to thin the plants once they’ve started to sprout. Removing the weaker plants will give the stronger ones more space to grow.
- Fertilize: Depending on the plant, you may need to apply fertilizer. Use a balanced, slow-release fertilizer for steady growth, or an organic fertilizer if you prefer.
- Watch for Pests and Diseases: Keep an eye out for any signs of pests or disease. Common garden pests like aphids, snails, or slugs can damage young plants, so take action as soon as you spot them.
Final Thoughts
Planting seeds and seedlings correctly is a simple process that sets the stage for a healthy, thriving garden. By following these steps—choosing the right location, preparing your soil, planting at the right depth, and providing proper care—you’ll give your plants the best chance for success.
Whether you’re planting from seed or starting with seedlings, remember that gardening is a learning experience. With a little patience and attention, you’ll soon enjoy the fruits (or vegetables, or flowers) of your labor!
Comments
No comments yet. Be the first to comment!
You must be logged in to comment. Login